I always see lots of “mummy” candy holders each year in October for Halloween, and I’ve made my own share. I thought the Stampin’ Up! seam binding ribbon was a great opportunity to design another one. This one is so simple and quick, you can make lots of them for your kids’ classroom or to give out as the Halloween trick or treaters stop by! Even your kids can help make these.

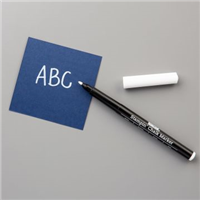
I thought he needed a tongue and it makes him look like he’s had too much candy – LOL! All you need for this project is Basic Black card stock, Whisper White seam binding, the chalk marker pen, a few punches and small scraps of Basic Black and Whisper White for the eyes and Real Red for the tongue.
DIRECTIONS:
- Cut a 2-1/2″ x 11 piece of Basic Black for the body. Cut another piece of Basic Black 4½” x 3½” (this fits inside the Mummy to hold the candy).
- Score the 11″ piece at 1½“, 5½“, and 9½”. Fold and crease on all score lines.
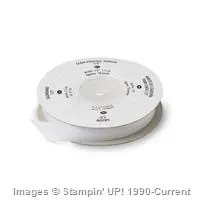
- Cut 45” of Whisper White seam binding. Starting on the inside, tape the seam binding at the top then wrap around at an angle the front. Once you get the to bottom, keep wrapping, but now back up to the top ending at the back to create mummy look. Secure seam binding with another piece of tape on the inside.
- Fold the two 1-1/2″ ends under and on top of each other to form the triangle box shape. Staple the bottom together.
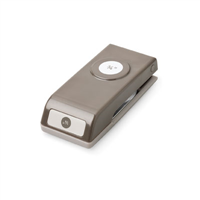
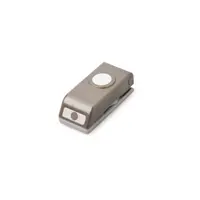
- From Basic Black scraps, punch two ¾’ circles and two circles using the itty bitty punch circle. From Whisper White scraps, punch two ½’ circles. Layer to create the two eyes. Using the Chalk Marker, make the white lines on the smallest circle. Adhere to the front.
- Punch a scrap of Real Red using the small oval punch. Curl the piece with your bone folder. Adhere under the seam binding to create the tongue.
- To make the inside box – Score 1” all around the small 4½” x 3½” Basic Black piece. Fold and crease along lines. Cut up on fold lines on two long sides, then adhere with Fast Fuse to make a box. Put Fast Fuse on the bottom of the box and slide it into the Mummy’s tummy to create a pocket for candy. And you’re done!
Here’s the supplies you need to make the Mummy candy holder (use small scraps of Basic Black, Whisper White, and Real Red you have on hand), and of course your favorite candy to fill his tummy!


Built for Free Using: My Stampin Blog
This is so cute. Of course being British, and having given birth 6 days ago “Mummy Tummy” means a whole different thing to me! LOL!