I love fall because that means it’s time to start decorating – Fall, then Halloween, Thanksgiving and the best of all? Christmas! Although each year it gets to be a little more work for me so I’m paring down to the essentials I love. When I saw the Season to Season wreath in the new Stampin’ Up! Holiday catalog, I knew this was one I had to have. I watched the video when the catalog went live September 1 and loved it.
Now fast forward to last Friday. I finally got my Season to Season kit and opened it-WOW…loved it! I proceeded to punch out the leaves as the directions said – yes they are very easy to punch out all at once if you stack the sheets together. I used my bone folder to curl the leaves 3-4 layers at a time to speed the process. Then, because I hate my glue gun (OUCH is all I can say!), I decided to try my Fast Fuse adhesive (BTW-it’s on sale this week through next Monday, October 12!). It works, you just have to carefully hold the leaves as you “flick” to break the adhesive. So far, so good.
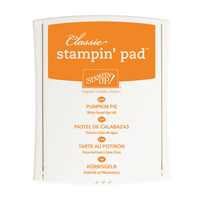
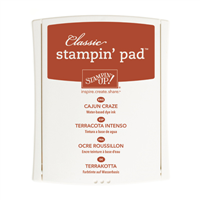
I marked the wreath into quarters and counted out my leaves into 4 equal piles to make sure I’d evenly distribute them along the wreath. I proceeded to attach the leaves to the wreath. Hmm…you know where this is going, don’t you?! I forgot to rematch the video from September with the tips on placement of the leaves so you cover the entire wreath. I get about half done, and oops, I’ve used way more than half of my leaves. Now what? Back to the video, oh dear, I put my leaves too close together. I continued with wider placement and got a little over 3/4 of the wreath covered. Okay, creative thinking cap on, how to correct this? I wrapped the unfinished area with the burlap ribbon in the kit, then tied the black & white ribbon into a large, multiple loop bow, and voila, an alternate wreath is born! This is my Halloween version. I substituted the Cajun Craze ink with Pumpkin Pie for a more “halloweeny” color to me!

Ah, as they say in crafting – there are no mistakes, just opportunities to be more creative! And that’s part of JB Stamper’s tag line – Just Be Creative! I have to be because I always seem to make mistakes as I craft – LOL!
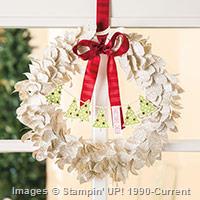
Check back this weekend to see my alternate versions of the Season to Season wreath for Thanksgiving and Christmas. Meanwhile, here’s what the wreath is supposed to look like! And be sure to watch the video of how to put it together before you actually do it so that you have enough leaves for the entire wreath!

[youtube https://www.youtube.com/watch?v=GfTy_023a3E&w=560&h=315]
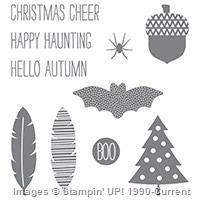
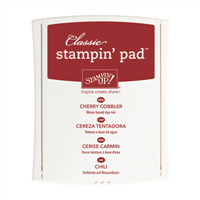
Here’s the supplies you’ll need to create this beautiful wreath.


Built for Free Using: My Stampin Blog
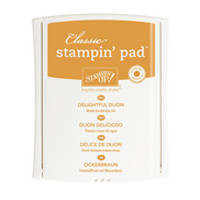
And here’s the supplies you’ll need to create the holiday strands for your Thanksgiving and Christmas versions of the wreath, just a few more ink pad colors.

Built for Free Using: My Stampin Blog
Just got caught up on your past few blog posts! Love this wreath kit – I’m planning to order one this month so I can put it together. I love how full yours looks, even though that was an oopsie 🙂 Great job in making it yours!